Hub-Centric Clamping for 4-, 5- and 6-Bolt Wheels
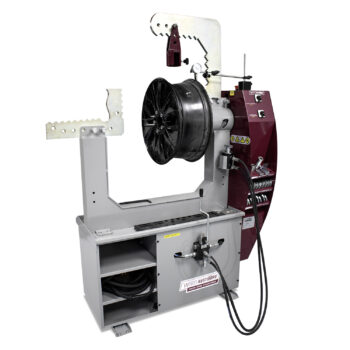
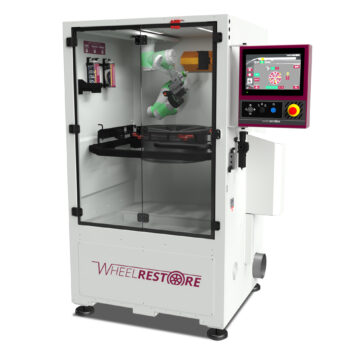
The DCM Tyre on Chuck is a precision clamping solution for the WM800 Diamond Cut Machine, designed to mount the wheel exactly where it belongs — at the hub.
⛨
Patent Pending
Patent Pending

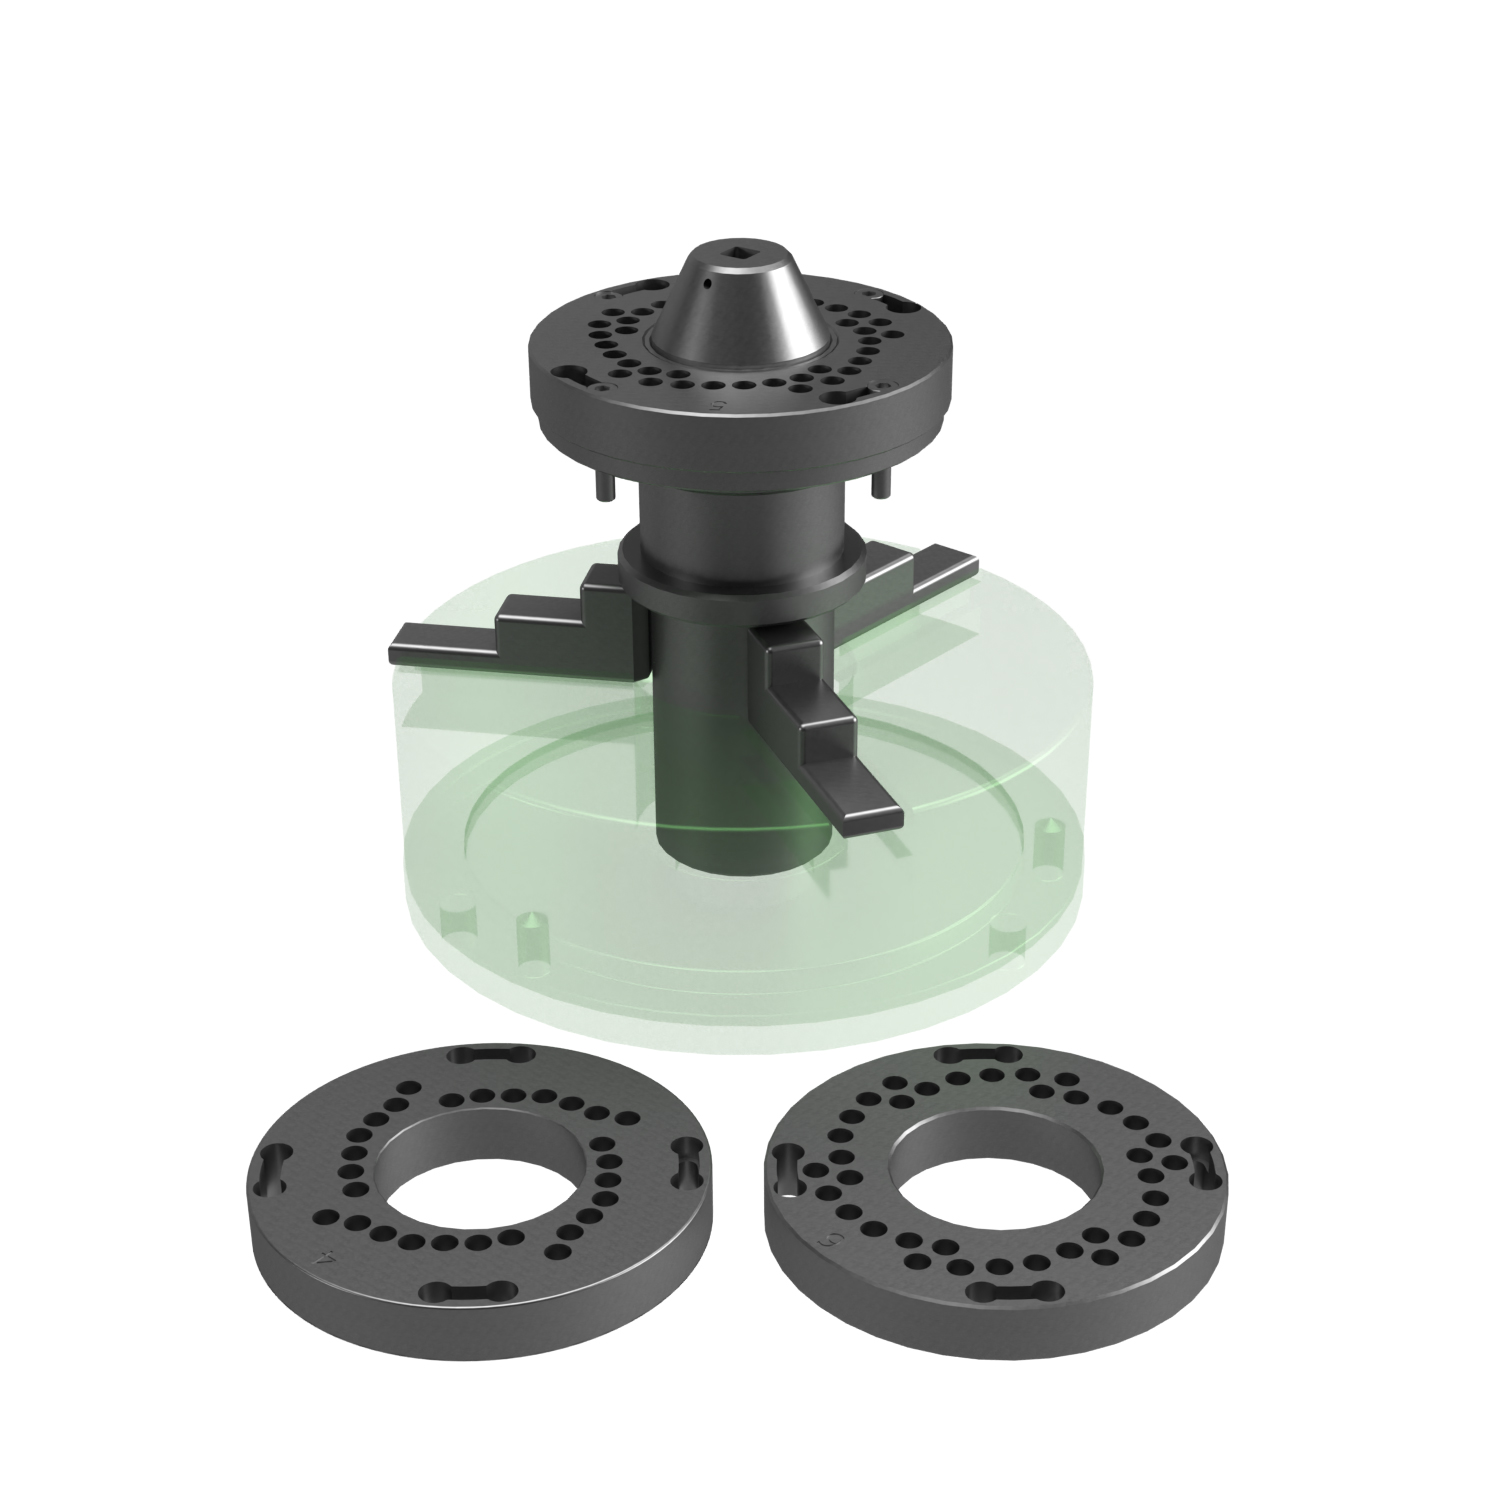
Hub-Centric Clamping for 4-, 5- and 6-Bolt Wheels
The DCM Tyre on Chuck is a precision clamping solution for the WM800 Diamond Cut Machine, designed to mount the wheel exactly where it belongs — at the hub.
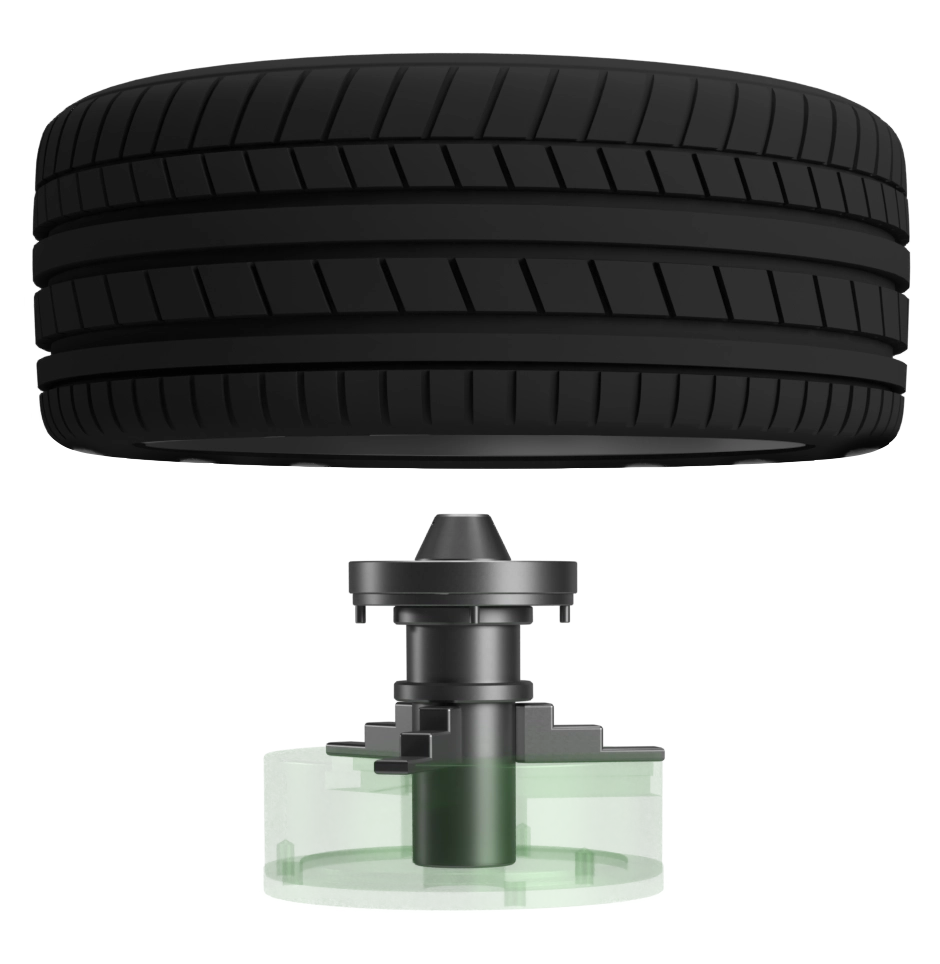
Unlike traditional outer-rim clamping, which uses the wheel’s outer edge as a reference point, this system clamps directly at the centre bore, the same point the wheel is engineered to run on the vehicle.
The result is significantly more accurate and stable rotation during both scanning and machining.
The wheel is held at the centre bore — the same reference point used when it runs on the vehicle — for true, accurate centring every time.
Hub-centric mounting eliminates the runout and vibration common with outer-rim clamping, delivering smoother, more reliable rotation during both scanning and machining.
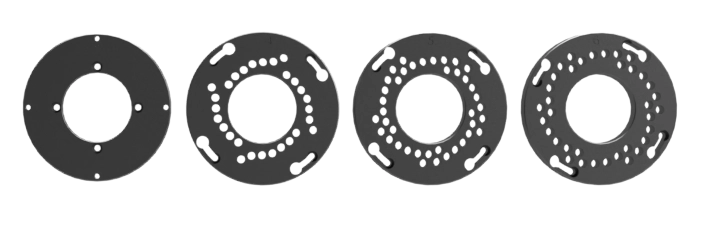
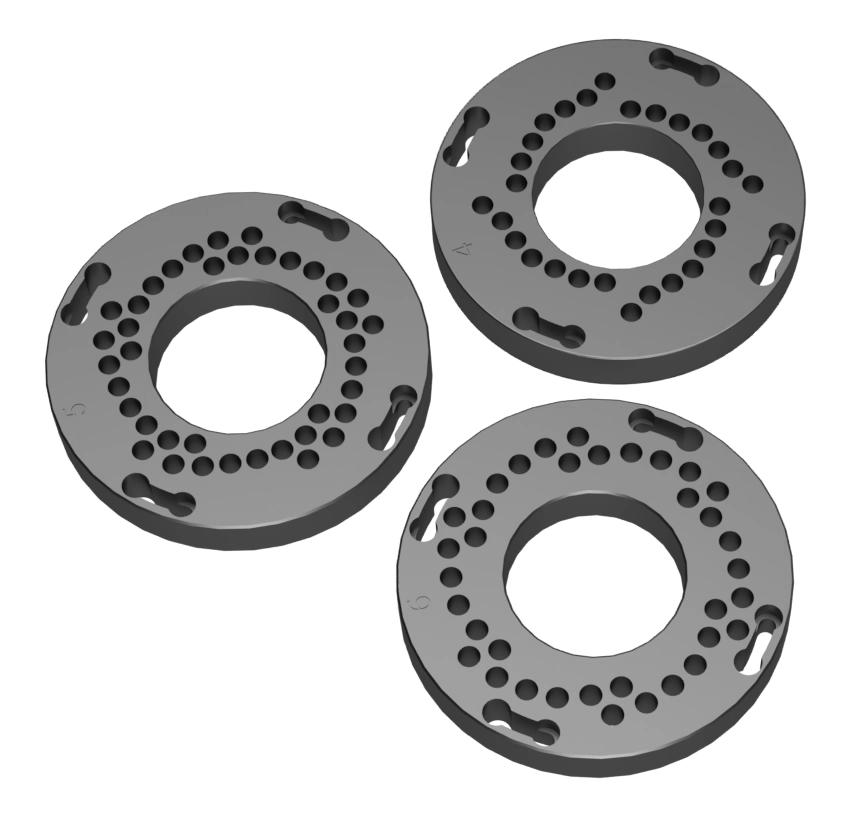
Interchangeable PCD flanges allow the operator to switch configurations quickly, keeping workflow efficient across different wheel types.
A spring-loaded centre cone guides the wheel into the correct position automatically at every mount, removing guesswork from the setup process.
Consistent hub-centric positioning means each wheel is mounted identically, improving process accuracy and repair quality across the production run.
The guided mounting system makes incorrect setup significantly harder, reducing costly mistakes and rework in the daily production environment.
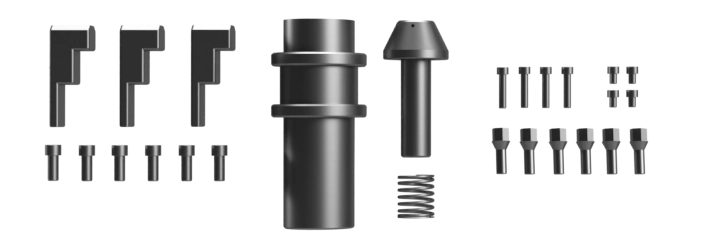
The system is built around interchangeable 4-, 5- and 6-bolt flanges, allowing the operator to adapt quickly to different wheel types once the kit is installed. A spring-loaded centre cone ensures automatic, precise centring every time the wheel is mounted — eliminating manual adjustment and reducing the risk of incorrect setup.
1

Install/replace the three jaws
Fit or replace the three jaws on the chuck body, ensuring each is correctly seated.
2
Install the main shaft
Insert the main shaft into the centre of the chuck.
3
Install the base flange
Place the base flange onto the shaft and tighten it down using 4× M8x12 bolts.
4
Tighten the M8x40 bolts
Tighten the M8x40 bolts to a depth of approximately 10 mm.
5
Install the spring and centring insert
Fit the spring onto the shaft, then place the centring insert on top. This is the mechanism that automatically centres the wheel during mounting.
6
Install the PCD flange
Select the correct 4-, 5- or 6-bolt PCD flange for the wheel type and place it onto the assembly. Turn the flange fully clockwise to lock it into position.
7
Secure the flange
Tighten the M8x40 bolts to secure the flange firmly in place. The chuck is now ready for use.